4547 Views
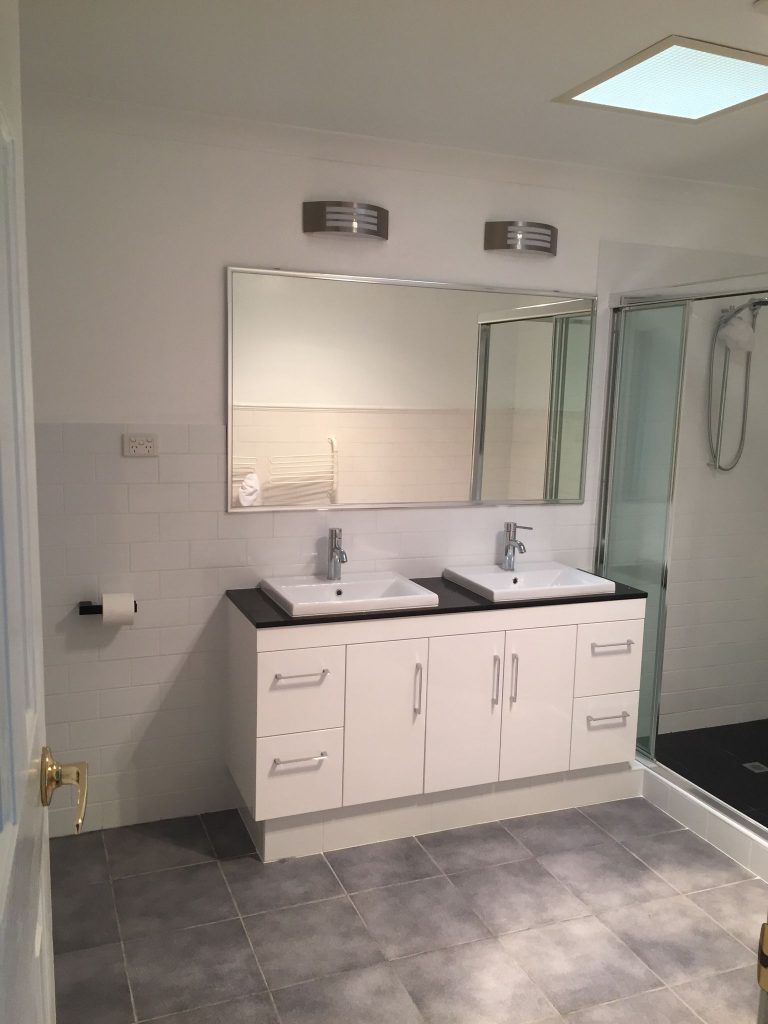
WA citizens love their ‘renos’ and upgrading the bathroom is one of the smartest home renovation projects to boost the value of your home. However, if you don’t want to tear the room apart or spend a fortune on renovations, simply replacing your outdated vanity with a brand new model can make a huge difference.
You don’t have to hire a plumber or spend a fortune to make your bathroom sink look good as new. If you have a few hours to spare and a few basic tools, you can give your bathroom a whole new look.
By following the step-by-step guide, you’ll be able to update your bathroom vanity and improve the look of the room in no time at all.
- Turn Off the Water
Before you pick up a single tool, you first need to locate the water main and turn off the flow of water. Position a bucket underneath the pipes to catch any excess water, then carefully disconnect the supply lines.
- Remove the Old Countertop
Use a utility knife to loosen and remove the caulking along the top and sides of the vanity. Carefully loosen the vanity and lift it off. Depending on the size and weight of the vanity you may need another person to help with this step.
- Remove the Old Vanity
Once the old countertop has been removed and set aside, it is time to remove the old vanity. Carefully loosen and remove the screws that hold the old vanity to the walls. Be careful not to strip the screws and set the old screws aside in a safe place.
- Position the New Vanity
With the old vanity safely removed, it is time to mark the installation points for the new one. Use a stud finder to determine the right location, then carefully mark the wall. Then check the position of the screw holes on the new vanity and mark the spot on the wall.
- Set the Vanity in Place
Set the new vanity in place and check the level. Use shims if necessary to make the vanity level, then hold it flush against the wall.
If you are installing a new faucet as well, now is the time to do it. Installing the new faucet will be much easier when the vanity top is still exposed.
- Attach the New Vanity to the Wall
Hold the new vanity firmly in place against the wall, then carefully position the screws and secure them. Place the vanity top on the pedestal, then run a bead of caulk along the top of the base. Only use caulk designed for tubs and tiles, since general purpose caulking does not have the same waterproofing properties.
- Reconnect the Plumbing
With the new vanity top and place firmly in place, it is time to reconnect the plumbing and turn the water back on. Check the lines to make sure they are tight, then turn the water main back on and test the new faucet if necessary. Finish by applying a generous line of caulking along the sides of the new vanity, smoothing it down as you go.
Now that you are done, all you need to do is sit back and enjoy your new vanity. You will be surprised at how much difference such a simple change can make — and how easy it was to accomplish.
If you require additional help with installing bathroom vanities in the Perth metropolitan area, don’t hesitate to contact the team at AAS.