5555 Views

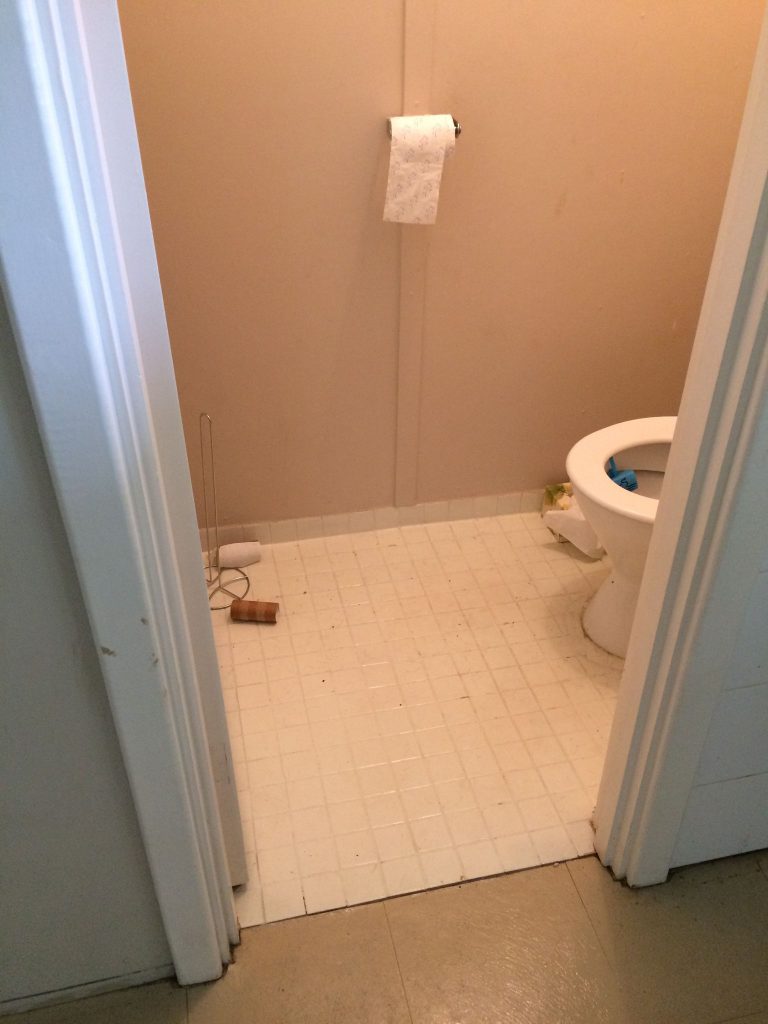
When asked How to Widen a Doorway for wheelchair accessibility, there are many technical steps and things to consider. Recently, the AAS Renovations team was contacted by an occupational therapist from one of our health services partners to carry out an accessible home modification job. The scope of works required the doorway to the toilet within the laundry to create self-propelled commode access or slide board access from the wheelchair onto a frame positioned over the toilet.


How to Widen a Doorway
To complete this job, ASS had to work with a wooden door frame and gyprock walls. All aspects of our work conformed to the National Construction Code.
The scope of our works were as follows:
Demolition and Removal
- Disconnect the electrical circuits to the toilet and make safe pending relocation.
- Remove the existing 720mm wooden door frame and door from the toilet.
- Cut back the gyprock sufficiently on the lock side to widen this doorway by 250mm (ie. for a 970mm frame).
- Dispose of materials off site.
Note: As with all our jobs, any roof struts or other load bearing members taking support from the section of wall being removed are to be relocated or alternatively supported, consulting a Structural Engineer.
Plastering Work
- Supply and install render and sundries to make good the wall that has been widened.
- Install framework for a 970mm door.
- Patch ceiling with gyprock and install new cornices where wall has been altered.
Electrical Work
- Relocate the light switch to enable operation before entering the toilet (ie. move to the wall outside the toilet where the laundry trough is)
- Plate to be positioned immediately above the trough. If this contravenes electrical safety standards please position the light switch to outside the toilet to the left (ie. the hinge side), 1000mm above the finished floor level
Tiling Work
- Install new skirting tiles inside the toilet if the one insitu has been damaged (using a spare wall tile if available or an equivalent white tile of the same size)
- Install new wall tiles adjacent to the new door frame (laundry side) if these have been damaged (using spare wall tiles if available)
- Patch exposed floor where wall was removed (using spare floor tiles if available, or otherwise an option as approved by Paul (white tile vs. linoleum).
- Tiles are to be laid using a waterproof ceramic tile adhesive.
- Use flexible ceramic tile grout.
Carpentry Work
Supply and install lift-off hinges and a 970mm swing door-to open out to the left hand side
Cleaning Work
- All due care is to be taken for the duration of the works to contain dust and debris within the immediate work area.
- At the end of the project fully clean the work area to a good domestic standard.
- On completion of the project remove all excess materials and waste from site.
Legal Requirements & Job Specifications
- All electrical work is to be completed with Australian Standard 3000:2007 and any subsequent amendments.
- Specific Floor and Wall Tiling was completed as per the following Australian Standards:
- AS 3958.1: Ceramic tiles- Guide to the installation of ceramic tiles
- AS 3958.2: Ceramic tiles- Guide to the selection of a ceramic tiling system
- AS ISO 13006 Ceramic tiles- Definitions, classification, characteristics and markings
- AS 4459 Methods for sampling and testing ceramic tiles
If you or someone you know would benefit from renovations to assist improved accessibility around the home, ASS is only too happy to help. Contact our friendly team to make an enquiry.